Fitting Instructions - Replacement Air Intake Grilles RH12590/1-X & RH12592/3-X
Fitting Instructions - Replacement Air Intake Grilles RH12590/1-X & RH12592/3-X
RH12590/1-X & RH12592/3-X air intake grilles provide replacements for the plastic component of the left-hand and right-hand cabin air intakes fitted directly beneath the windscreen wiper arms, which are often broken or discoloured. They fit any four-door Rolls-Royce or Bentley built from 1980-1998 (excluding Bentley Arnage and Rolls-Royce Silver Seraph models). The replacement grilles are reversible and are suitable for both right-hand drive and left-hand drive cars. RH12590/1-X replaces the driver’s grille & RH12592/3-X replaces the passenger’s grille. They replace the following original product references:
| Driver’s | Passenger‘s |
| UB38792 | UB38793 |
| UB38791 | UB38794 |
| UB42344 | UB42347 |
| UB42345 | UB42346 |
| UB72032 | UB72035 |
| UB72033 | UE72034 |
| RH12590 | RH12593 |
| RH12591 | RH12592 |
The outer metal surround/bezel may be either polished stainless steel or painted black. These are re-used.
Items required
- Crosshead/Philips screwdriver (from toolbox)
- 2 x small flat screwdriver
- 1⁄2” wrench (from toolbox)/13mm wrench
- 3mm Allen Key
- Adhesive tape (e.g., masking tape)
- Flat plastic tool (e.g., door card removal tool)
- Soft cloth (approximately 1m2, e.g., car drying towel)
- Flat work surface
- Small table or surface for tools
Instructions for Replacement
- Place a cloth larger than the grille assembly on your work surface.
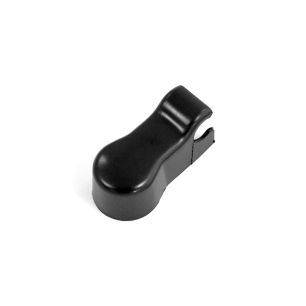
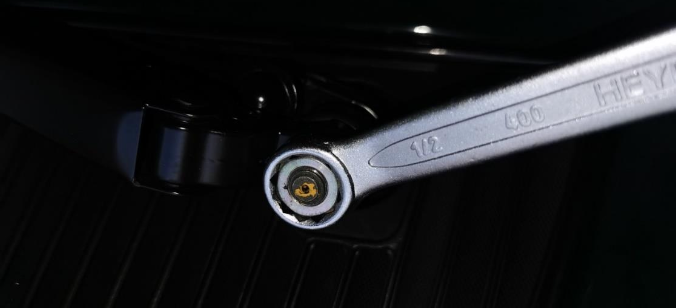
- Remove the wiper arm covers (UD25009) by lifting the large end to reveal the wiper arm fixing nuts (see p.2). Set the covers aside, if re-using.
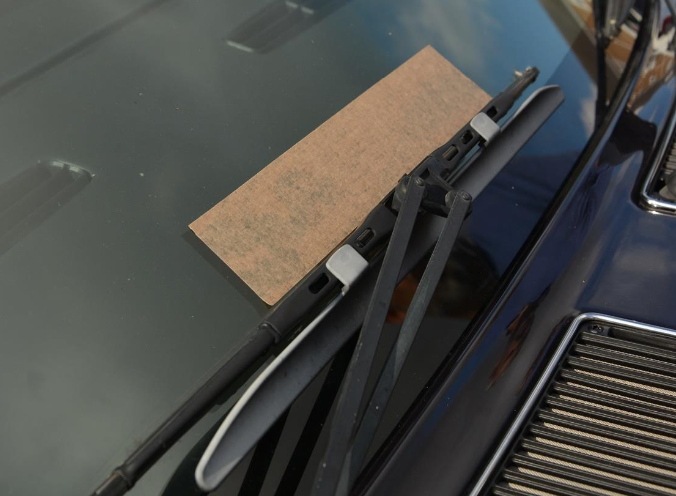
- Ensure the wipers are fully parked. Mark the position of the blade on the windscreen using adhesive tape as below.
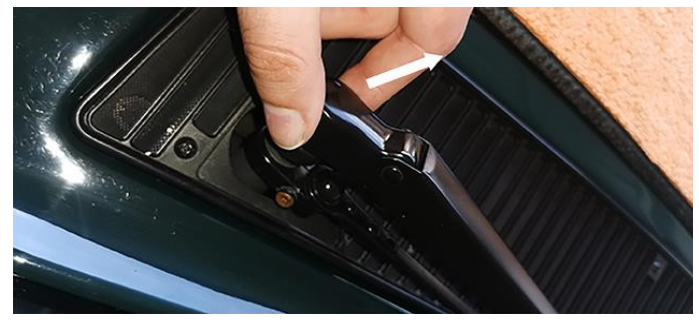
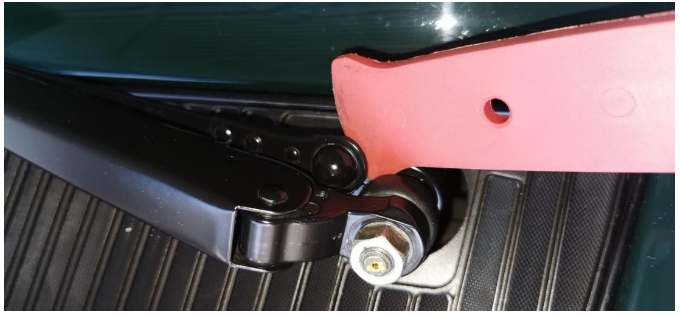
- On the driver’s side, lever the support linkage from the spindle base/ball pin using the plastic tool shown below. Some force may be necessary to remove the support arm from the ball pin, but DO NOT USE ANY METAL TOOLS HERE, as otherwise you WILL scratch surrounding paint surfaces.
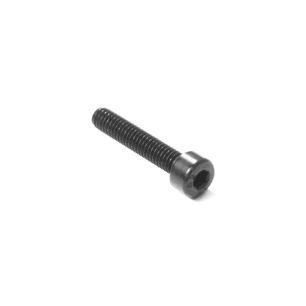
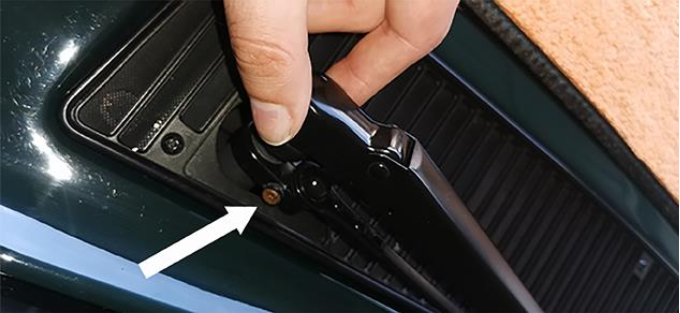
- Remove the M4 pinch bolt (CD6839). If corroded, replace.
- Undo the nuts on both sides and remove the wiper arms from the spindles. The original locking paint and/or corrosion can cause the wiper arms to stick on the spindles. DO NOT USE ANY TOOLS TO EASE THEIR REMOVAL. Carefully manoeuvre the arm back and forth to loosen them and lift off.
- Undo the nut (driver’s and passenger’s side)
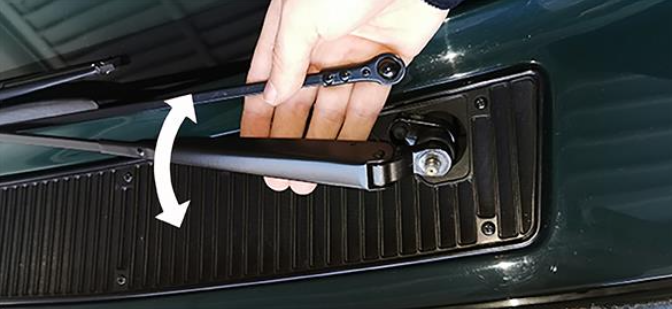
- Manoeuvre and, once loose, remove the arm from the spindle.
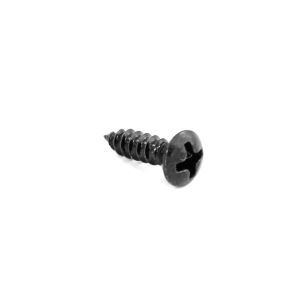
- Undo the six countersunk screws (UA7022SP) from each grille. These can be re-used or replaced if corroded or damaged.
- Remove the grille assemblies from the car and place them on the cloth, with the lower side facing up to reveal the fixing tabs on the metal surround/bezel. Be careful not to twist the surround.
At this point you should note that there are two types of metal surround/bezel. Either can be fitted to the replacement plastic grille, but the assembly method is slightly different. See below to identify the two types of surround/bezel.
- Support the surround fully so that it does not become twisted. Using a small flat screwdriver, gently lever the plastic grille away from the fixing tabs. Start at either of the small ends and work around the surround. It may be useful to use the second flat screwdriver (in the same way two tyre removal tools are used) to keep the grille from snapping back into position.
- Black finishers may be re-sprayed using black matt paint at this point if desired.
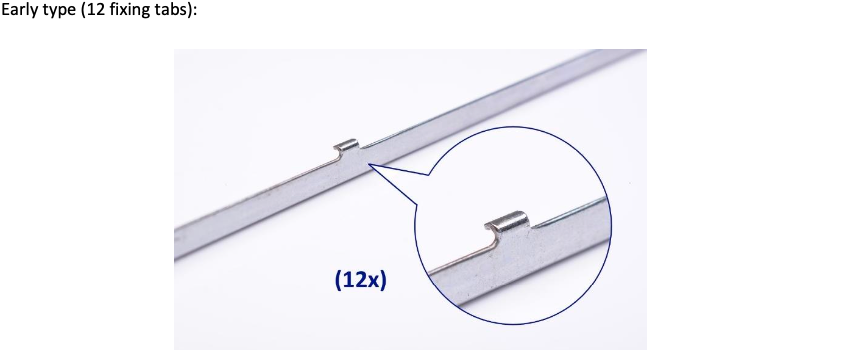
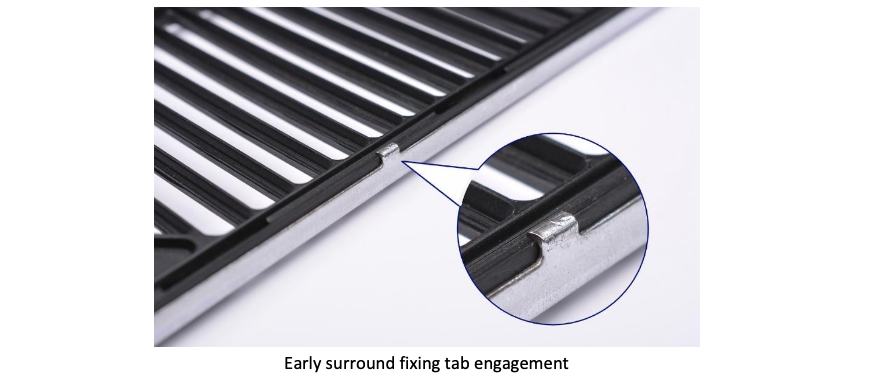
- Early type finisher: the 12 fixing tabs on the metal surround are external to the plastic grille and engage with the lip at the outer edge (see p.5). Please note that they do not align with the slots around the edge, which are for the later surround. As the grilles are reversible, check that you are fitting the passenger’s grille to the passenger’s metal surround and vice versa for the driver’s grille. Begin at one of the small ends and work around the finisher, carefully levering the grille under the fixing tabs with a small flat screwdriver until all tabs are engaged.
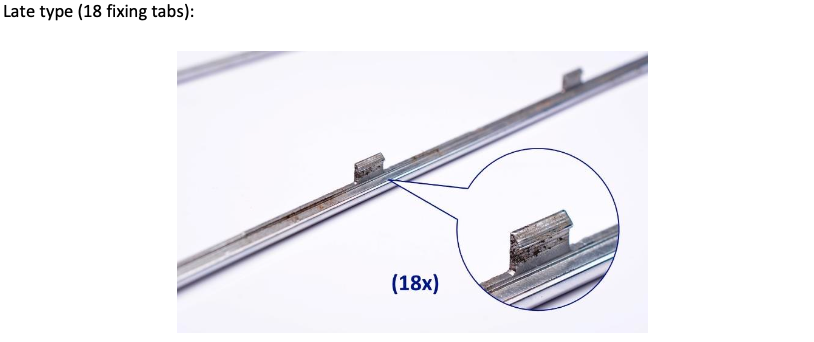
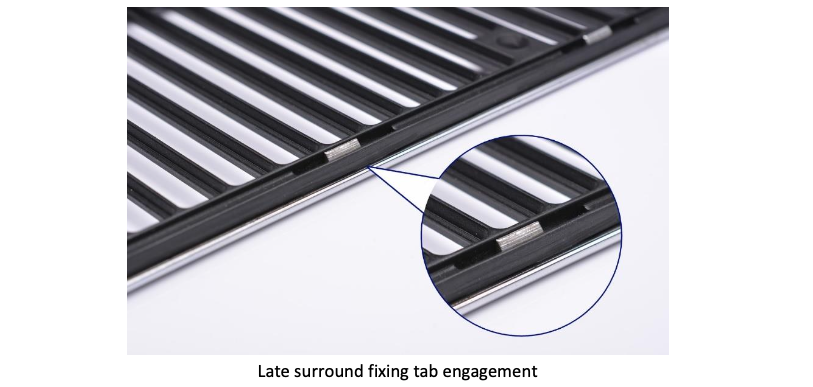
- Late type finisher: the 18 fixing tabs on the metal tabs engage with the slots on the edge of the plastic grille (see below). To fit, place the metal surround/bezel face down on the work surface and position the grille so that the fixing tabs in the surround align with the 18 slots in the grille. As the grilles are reversible, check that you are fitting the passenger’s grille to the passenger’s metal surround and vice versa for the driver’s grille. Carefully press the grille into the surround until the fixing tabs engage as shown.
-
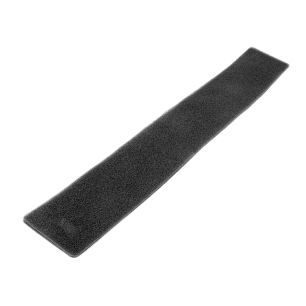
Consider replacing the air intake filters (UW18752), fitted beneath the wire mesh leaf guards, at this point.
-
Reverse the first 1-7 steps. Do not tighten the fixing nuts until the blades are correctly re-aligned with the tape on the windscreen.